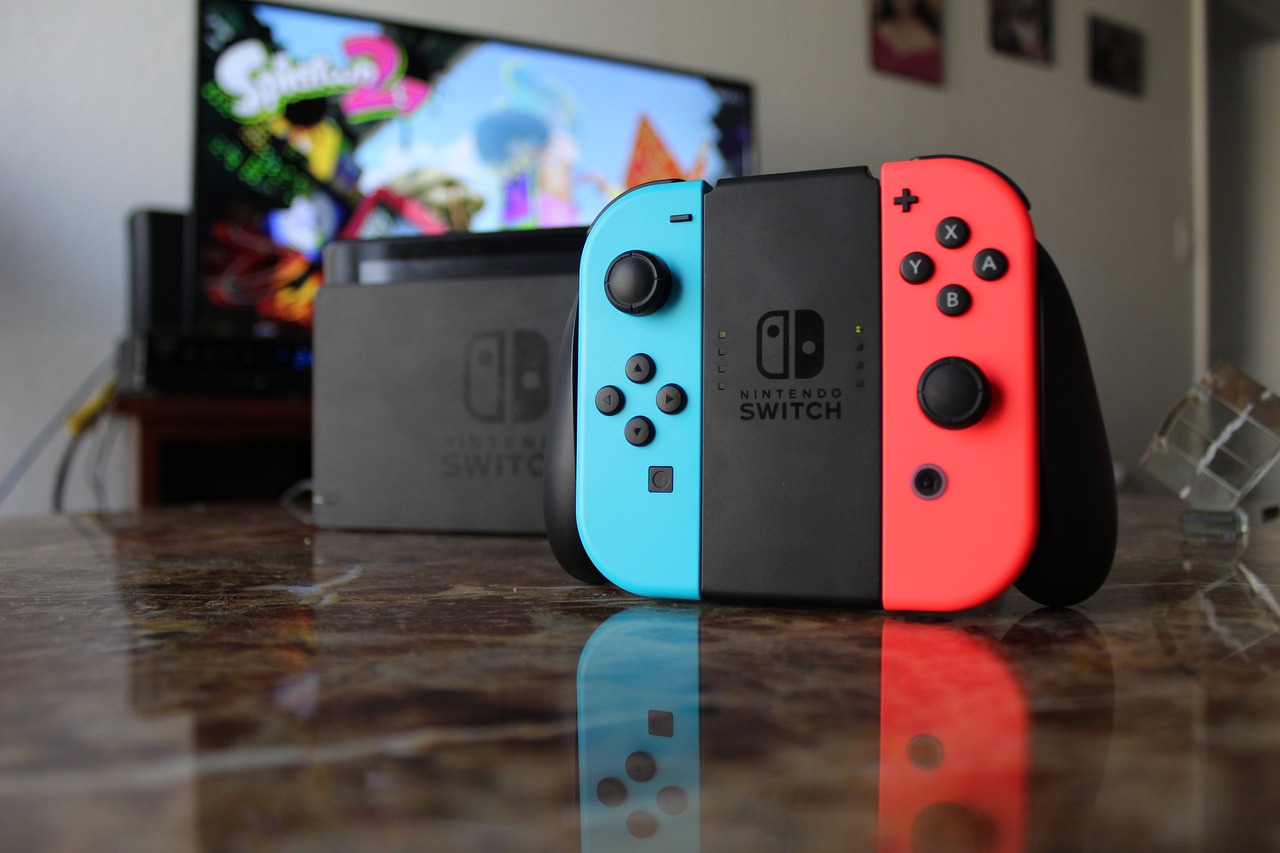
The Journey of Customizing a Nintendo Switch
The goal of modifying Nintendo Switch turned out to be a journey. First of all, I would like to say that it was my first time to jailbreak a Nintendo Switch. However, I was also experienced from jailbreaking Xbox 360, which is basically very similar as both uses RGH. But little do I know that Nintendo is very mindful of the resources shared on the Internet. They just take down the content directly as a violation of DCMA. So I can’t share too much here either. However, I do experience a lot of unexpected situations, so I will share some of them here.
It’s important to have the instrument before you participate in to a work. In this case, that tool is an electronic microscope. Of course, tools like soldering iron and such are also needed, but the microscope was a hard thing to notice whether it’s needed or not. I realized that it was needed when I took it apart. It turns out that the components we needed to solder were smaller than an ant. You should have really young and good seeing eyes to see them, even if they exist. However, I was so excited about it that I tried to do the whole thing without a microscope. Guess what, It took 6 hours and the result was nothing proper. After those 6 hours of work, the thing would work if the only screw on the heat sink was tightened. Oh, and it also had a bump on it’s back from the heat sink pushing against the cover.
So I left it that way to come back later on with better equipment. I decided to buy new soldering bits as I will be removing the old solder to do the whole thing again. I also get a microscope to do it right next time. Not many days later, they arrived so I was ready to give it another try. So, I started by removing all of the previously applied solder with a solder wick. And then under the microscope, with a small soldering bit, I re-soldered everything one by one. This time I also did continuity tests and such to make sure that time the things would work fine.
After everything was connected, I decided to do a test run. Guess what, the modchip’s LED indicator showed a successful boot status. However, when I checked the screen, there was nothing. Just black.
Later on I realized that it was really a screen specific problem, as the joyistic controller worked fine. The problem was a bad pin on the display connector. It was a pin that slipped to ground instead of staying up. With the help of the microscope and a very thin needle, I managed to fix the problem by putting it back where it should be.
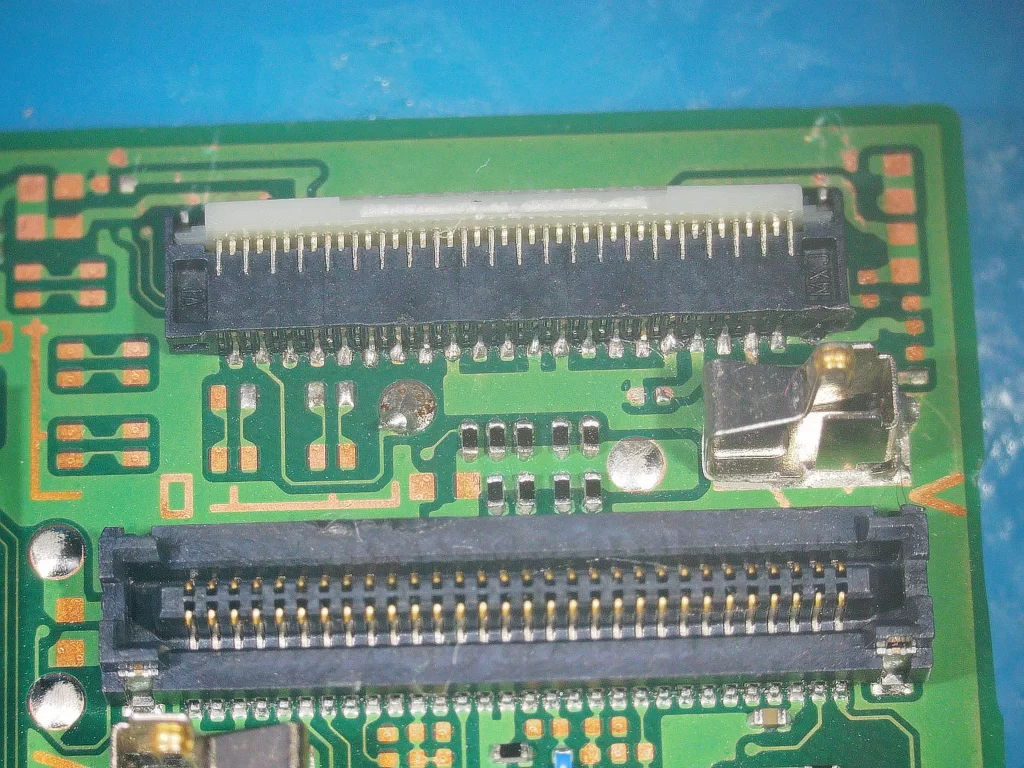
An image that was taken from GBATemp forums.
Once that was done, that was it! The parts of the device were already worn out, as this was my first attempt to customize a Nintendo Switch. However, I took my lessons and learned more. It was the first time I did this small-scale soldering. Also some of the parts of the device might were worn out. But the result was a success other than an unrecoverable device.
Next


Comments are closed